I chose to build my railroad around the house. I like seeing the train go somewhere, out of sight, or into another scene. This forced the tracks to be at ground level everywhere, since my yard is pretty flat. I also have a path around the house, so the track crosses the path. In fact it crosses six times in the complete circle of the house. It even crosses our driveway. Some of the path crossings have been down for over eight years. I roll loaded wheelbarrows over the crossings all the time. Some techniques have lasted, others have failed.
In 1997, I built phase one of the railroad, which included three crossings, two straights and a curve. I use solid wood ties under aluminum rail, so the track is well supported down to the bottom of the ties. I use a piece of 2" lumber, on flat, to support the track, and lay that board in a rock and sand base. For the straight crossings, I simply use a piece of pressure treated 2" x 4". On curve, I used a 2" x 8", traced the outline of the edge of the ties, and sabre sawed the board to shape. In either case, the wood ties were nailed down to the lumber support. If you are using track sections with plastic ties, you may have to fill the cast hollow sections under each tie to give maximum support.
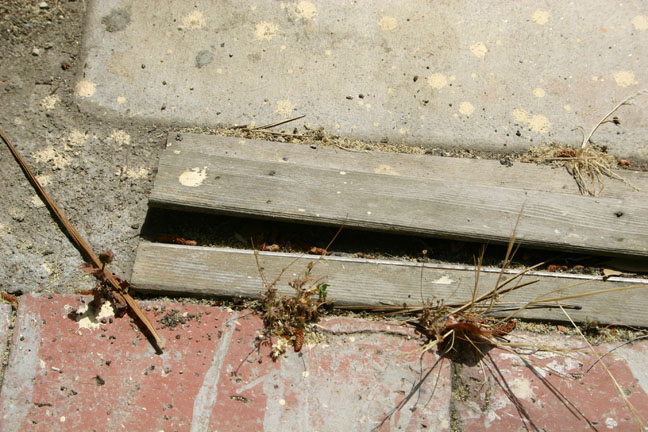
I rip strips of redwood to fill in between the rails and over the ends of the ties, just like the real railroad. My first crossings used larger widths of wood, and were simply nailed down. The nails rusted out over time, and sun warped the wood enough that the ends pulled up. This is the end of the patio team track.
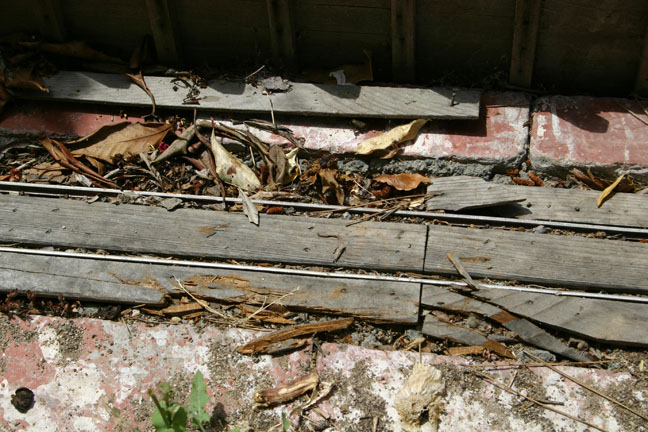
The crossing in front of the compost pile got the hardest beating, since we dump the wheelbarrow in right there. Some of the wood I used wasn't straight grain, and the result was the the filler strips got broken up to the point that they fouled the trains running over.
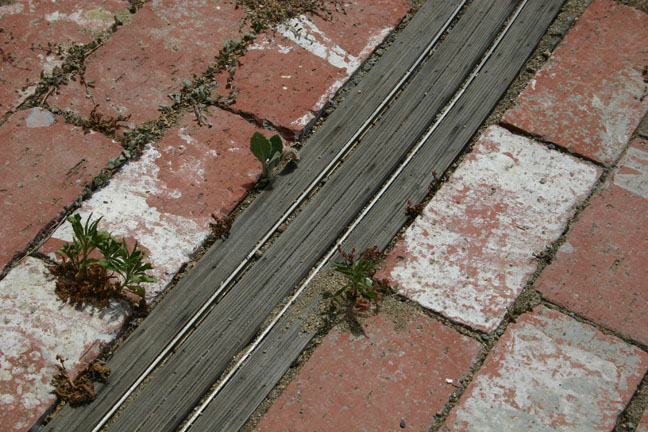
The most durable of the first crossings I built was the curve. I had to cut thinner strips, about 1/4" x 3/8", bend them into shape, glue, and nail them down. This combination looked the best, and was the most secure method. I have a brad nailer, and used TiteBond 2.
In 2000, I built phase two of the railroad, which not only crossed the path three more times, but crossed the driveway as well. I was fortunate, because the driveway had already been saw cut many years before, in order to lay a drain pipe into the garage. The strip had been filled back in, but I had it broken up and removed the pieces. The strip angled across the drive, and I designed the track plan to take advantage of the orientation. I poured fresh concrete, and laid in a form, which cast a groove for the track. I also cast in a drain gutter along the center of the groove. I used 1" x 4" on flat for the straight part, and cut arcs of 3/4" plywood for the curved section. I used more plywood to cut a branching groove for a switch in the driveway. I store my equipment on a shelf unit in the garage. The switch leads to a spur through the foundation. In 2000, the curve to the mainline was just a glimmer in the future. I used Liquid Nails adhesive to glue the track into the groove, and covered all the exposed ties with redwood strips. We drive into the garage every day, and have had construction trucks parked right on to of the track.
However, in about four years the Liquid Nails failed to hold onto the redwood ties any longer. I first notice this when the track was arching 6" out of the driveway groove on a hot summer day, when the aluminum rail had expanded. I removed all the track, from beyond the switch to the diamond crossing at the edge of Lynnwood.
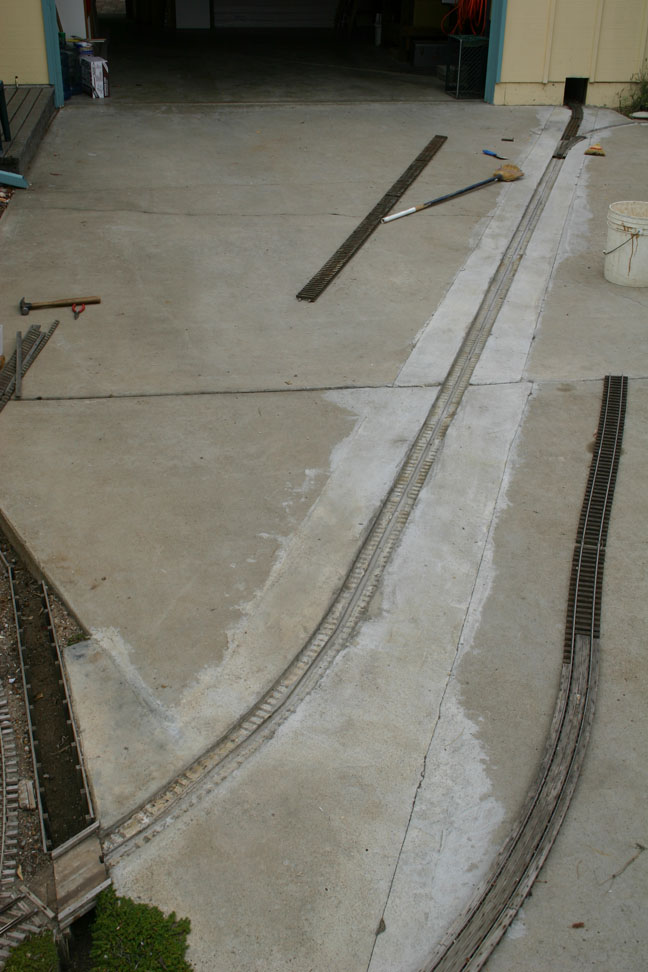
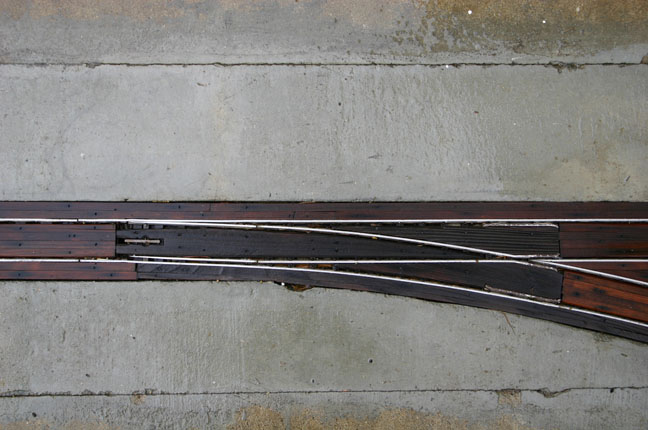
You can see where the original driveway was.
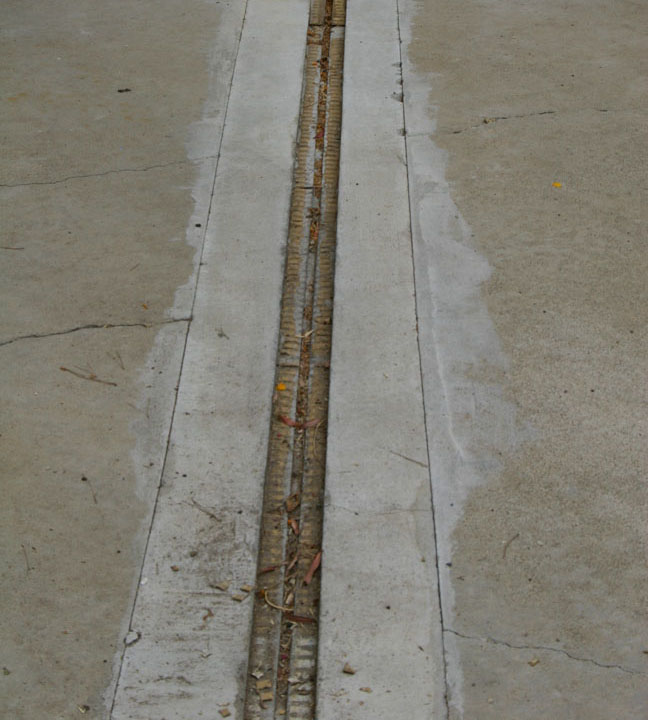
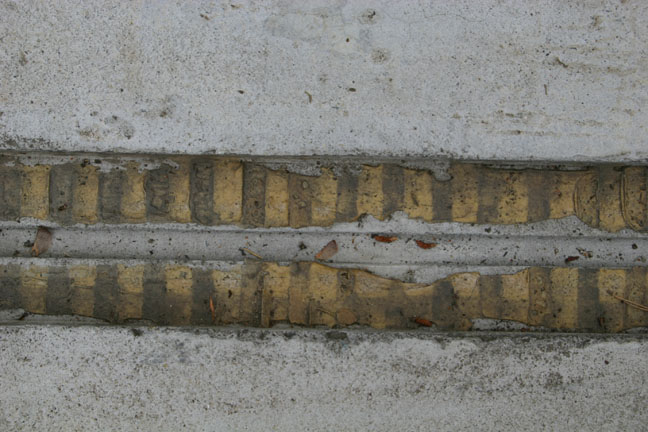
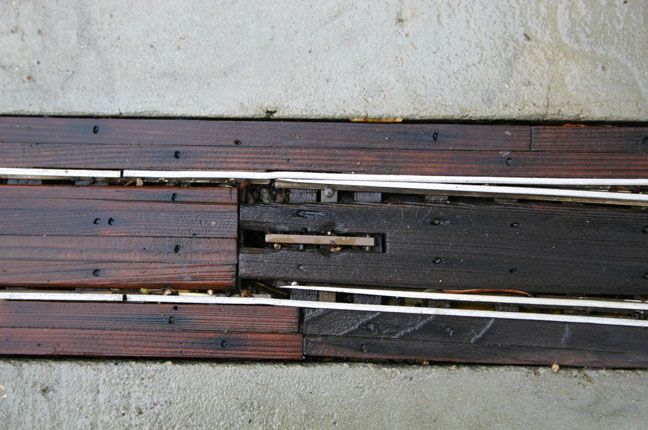
This shows the failed adhesive. Notice the rain gutter down the middle. This allows the pockets between the ties to drain and dry out. The ties were all in good condition.
I scrapped out the old adhesive with a prybar and old putty knife.
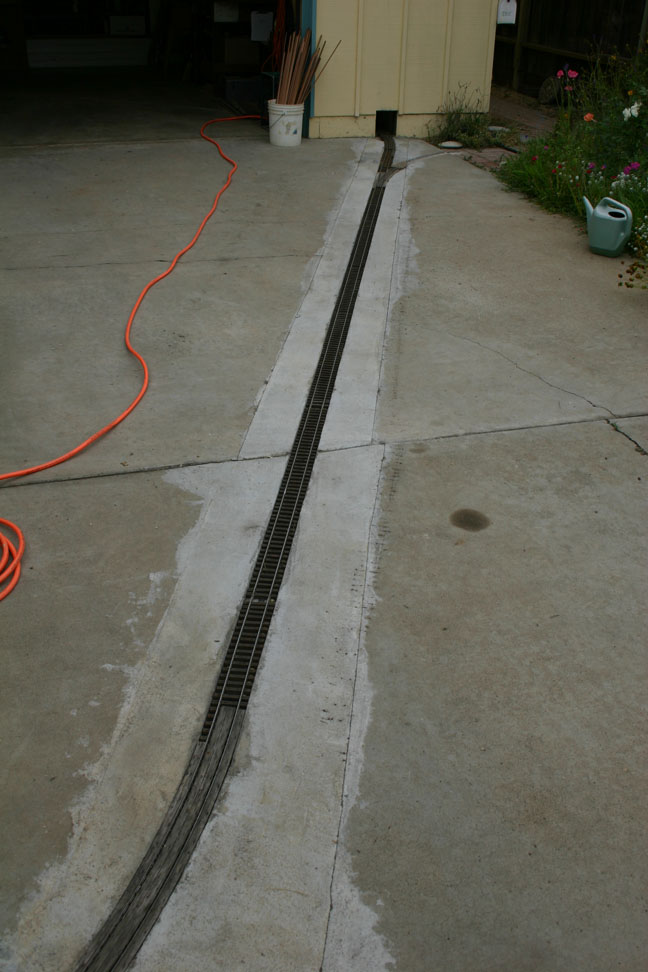
The groove is now ready for the track to be installed again. You can see that the wood filler strips, which were glued and nailed on the curve, were still in good shape at the lower edge of the picture.
This time I used a foaming poly-ureathane glue. I put weights all along the track to hold it down into the groove, and left it over night. I think that next time I will have to destroy the track to get it out of the groove.
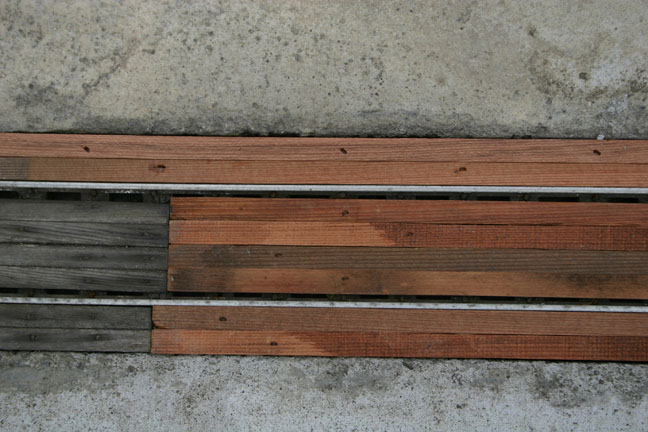
New redwood strips were installed along the straight sections, nailed and glued with TiteBond3 this time.

Here is a detail shot of the new wood butting up against the older curved pieces.
This shows the switch in the driveway. The straight side goes into the garage, and the curve is the mainline.
This is a detial of the switch throw mechanism I use. It is flush with the driveway, and somewhat out of the main foot and car traffic, but it needed to be simple and robust. To throw the switch, I lift the left hand end of the small brass bar, throw the points by hand, and lock a locating pin on the other side of the brass bar. This secures the points. Since the operations into the garage only happen at the beginning and end of a session, this system doesn't get a lot of use, and works very well.
In the fall of 2004, I built the third phase of the railroad. This extended from the driveway switch around the north side of the garage, and connected to the back yard. I had to cross the path again, and cut through a part of the old driveway that had never been cut before. After marking out the track location on the concrete, I used a diamond abrasive blade in my Skil saw. I made a series of parallel cuts, about 1/4" apart, and only cut an 1/8" deep on each pass. I was surprised by how quickly it went. In less than an hour, I had finished cutting. I used a stone chisel and hammer to break out the remaining thin pieces of concrete, and smoothed the bottom as best I could. This was a short stretch, so I didn't cut a gutter.
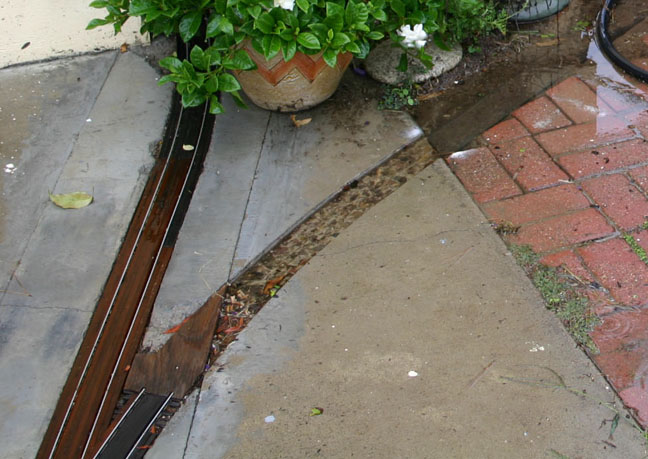
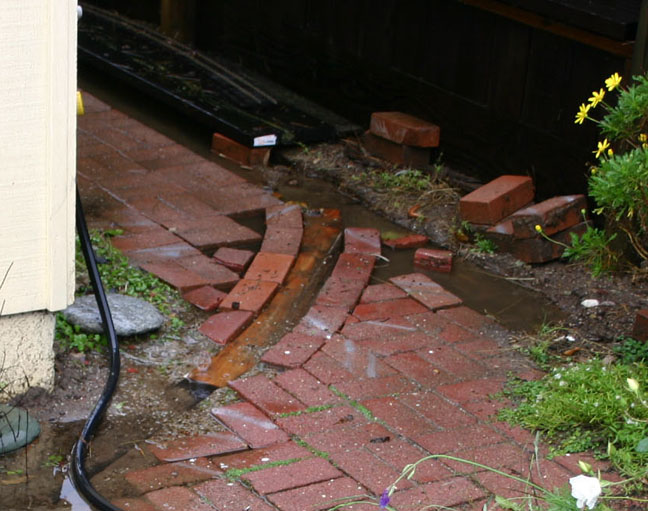
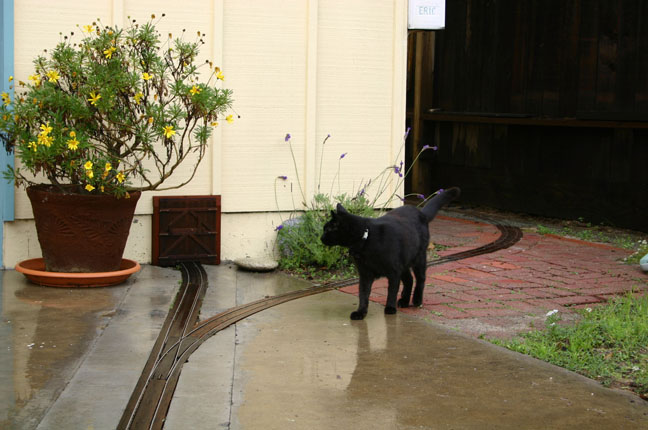
A curved piece of lumber has been set into the path, as I fill in the brickwork. We had a lot of rain this year, and I was out taking pictures of the puddles while I couldn't work.
Here is the finished area. Curby the cat is examining the new door to the train storage area.
I hope these pictures and information encourage you to consider making crossings of your own.