My next addition to the WTC freight cars was a pair of ice cooled reefers, for hauling cold drinks like sodas, beer, and wine. I have always like the color scheme of Pacific Fruit Express reefers, all black, with dark orange sides. I researched narrow gauge reefers as a start, and drew up a set of plans for the WTC.
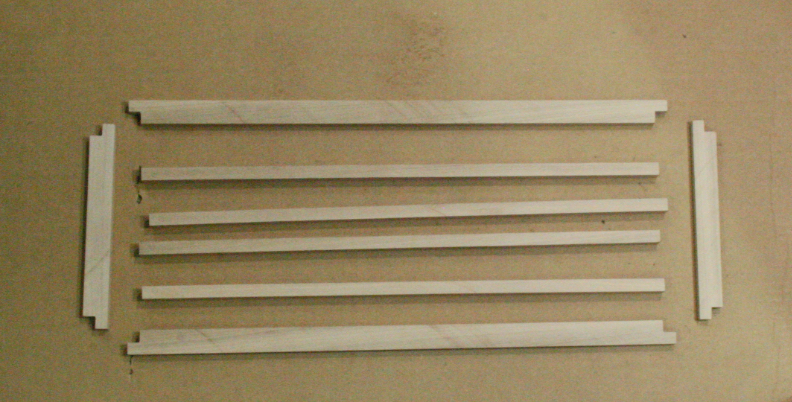
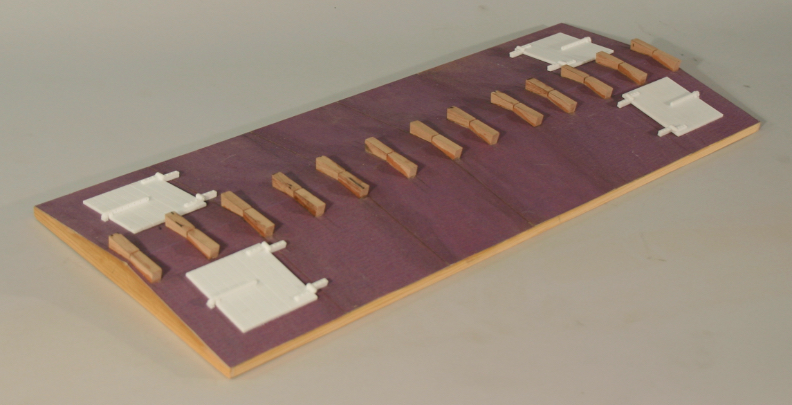
The underbody basic frames are the same as my flat cars, 8" wide and 20" long. I use Madrone, as it is a strong, tight grained wood. Here are the individual pieces laid out before gluing. The corners of the outer pieces are lapped, and will be pegged together.
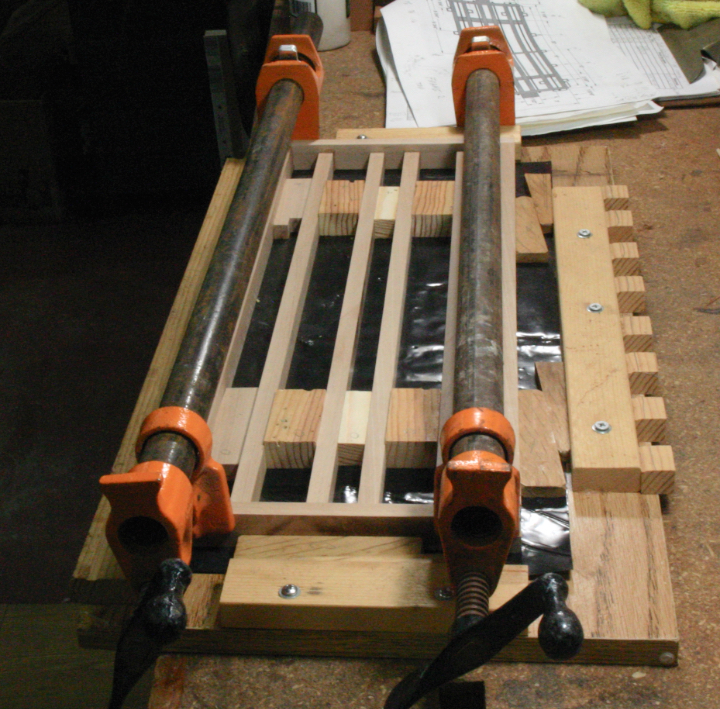
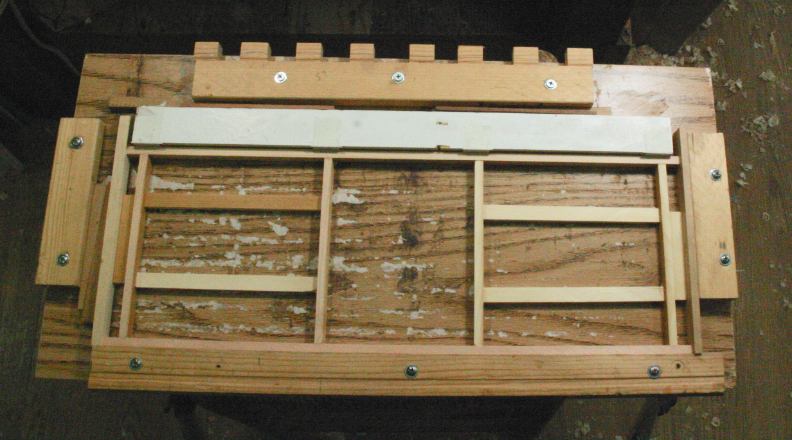
The pieces are glued together using a clamping frame. Parallel wedges provide pressure along the sides, and a couple of bar clamps provide pressure across the ends. Spacer blocks keep all the lone pieces aligned correctly.
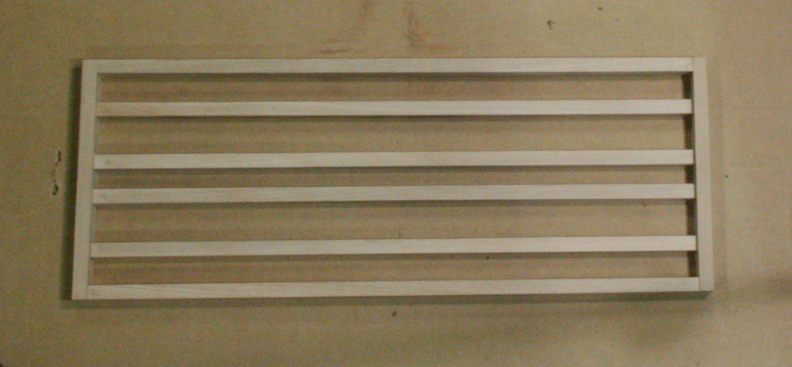
Here is a finished frame.
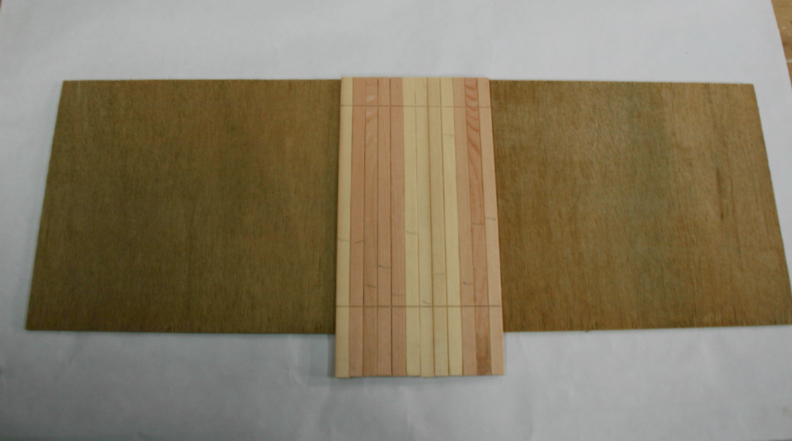
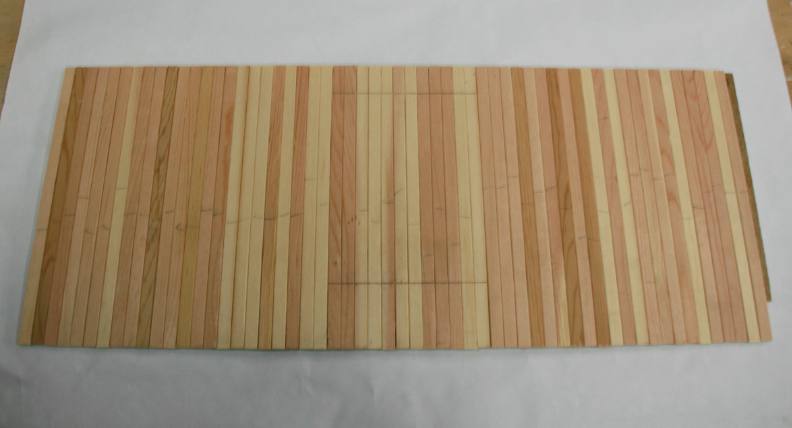
The sides and ends were made of mahogany door skin plywood, with individual pine boards glued on. The pine pieces were all slightly beveled at the edges, giving a standard tongue and groove siding look. This shows the beginning of the siding process. The boards depicting the door were applied first, allowing a small saw cut to define the top and bottom of the door, even though these doors don't actually work.
Here is a finished side, with the saw cuts defining the door clearly visible.
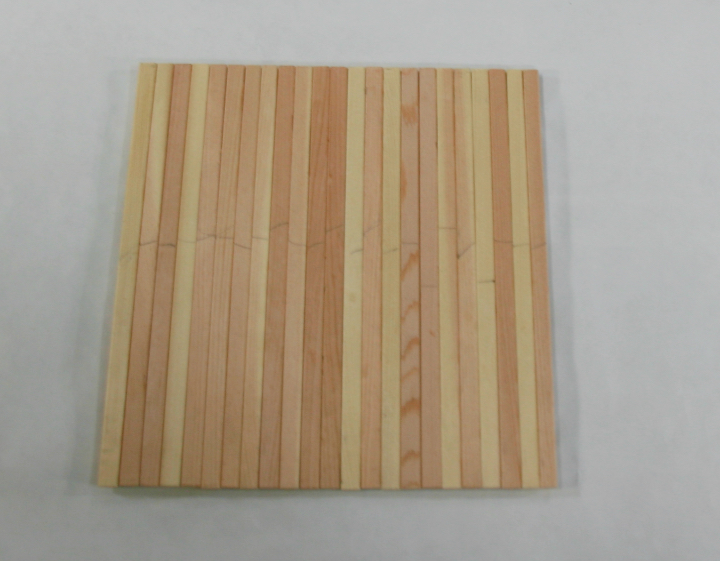
The same process was used to construct the ends, shown here.
The walls of the reefer are insulated with a half inch of solid foam. Here a frame for a side is being clamped.
In this picture an end frame for foam is being clamped.
This shows the inside of one end. The pine siding expends past sides of the plywood base, allowing the corners to overlap. The pine siding extends well pas the bottom of the plywood to cover the Madrone underbody frame. The notch in the bottom fits over the coupler pocket. The foam frame is glued in place.
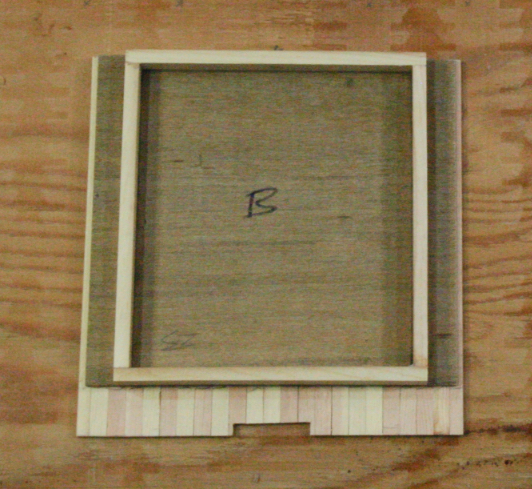
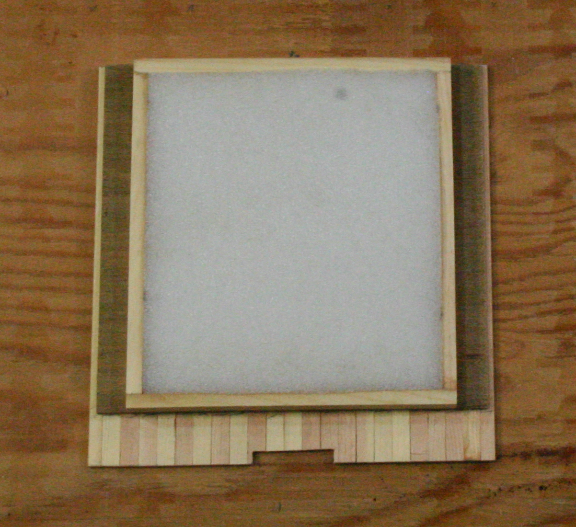
Here is the same end with a piece of foam installed, ready to have a layer of .060" styrene glued as a cover.
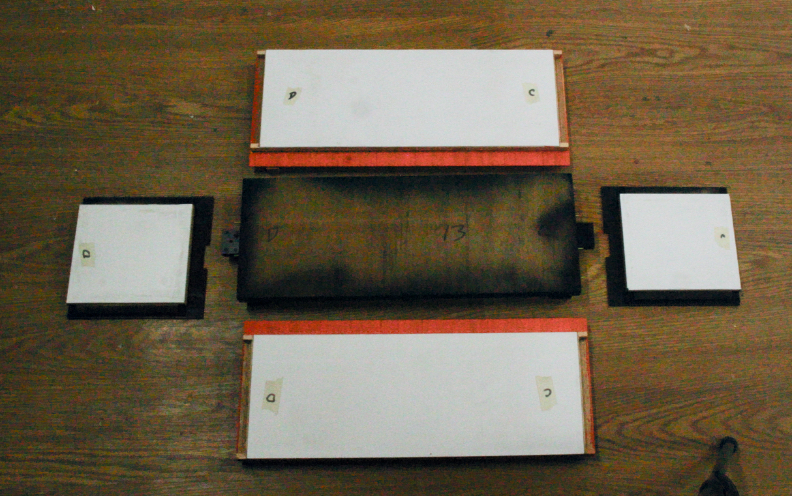
Here are the insides of all the parts of the body, ready for assemble. You can see the covered foam on the ends and sides.
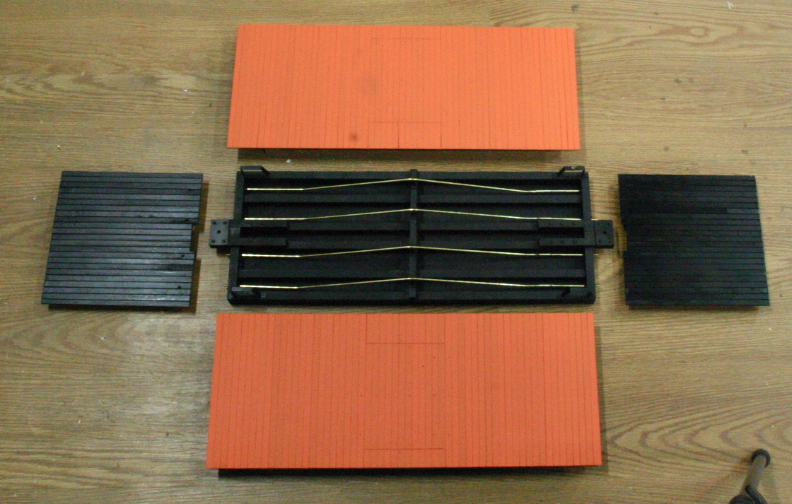
Here are the outsides, all painted, beady to for assemble. The truss rods are installed before the ends will be glued to the underbody.
This shows the ends glued to the underbody. Now the truss rod nuts can be installed and painted, before the orange sides are installed.
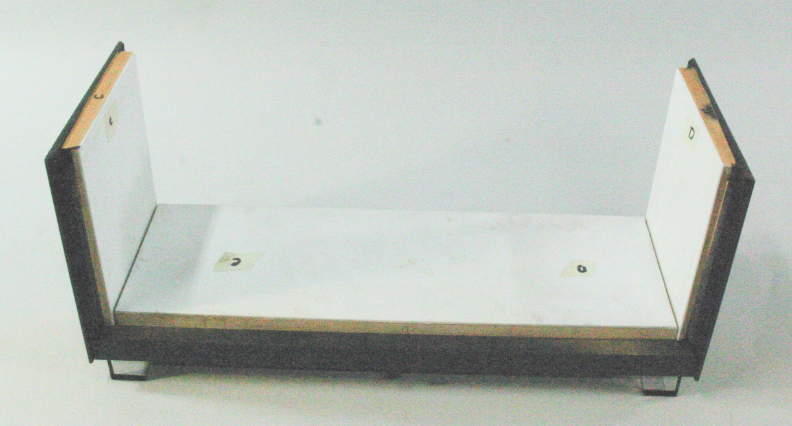
This is the same assembled upside down, showing the coupler pockets, bolsters, and truss rod queen posts. Corner steps have been installed.

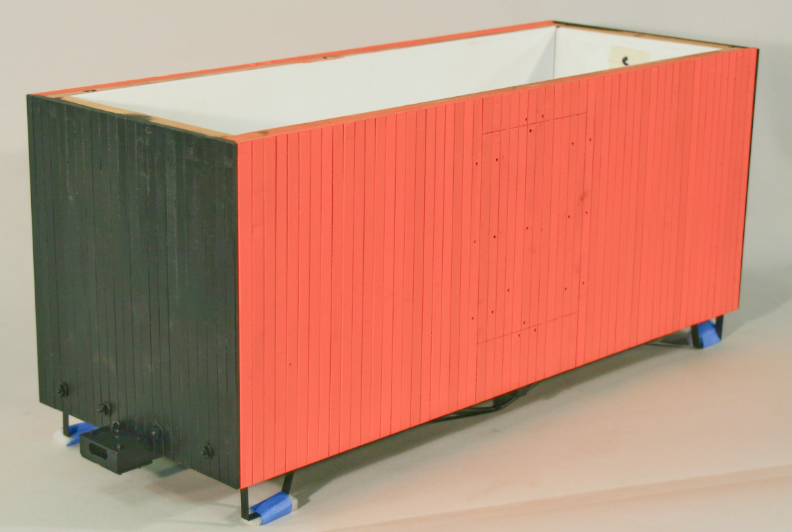
Now the painted sides have been installed.
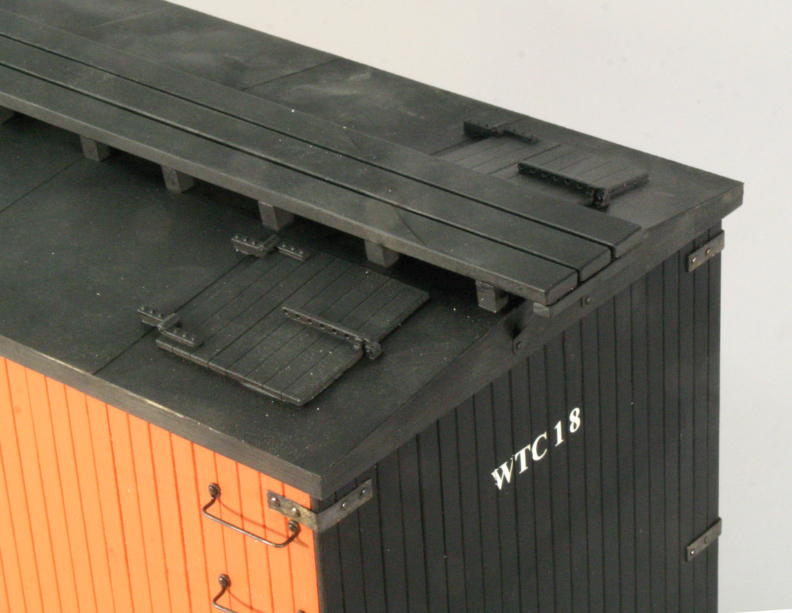
The roof is designed to be lifted off, like a cooler lid, allowing easy access to the goods shipped inside. The structure is made of Mahogany door skin plywood, with pine edge trim to overlap the edge of the main car body. The entire roof has been covered with very fine sand paper, simulating roll roofing material. 3-D printed ice hatches are located at each corner of the roof. The center line has roof walk supports. This will all be painted black before the actual roof walk is installed.
Here is a detail on the roof before painting.

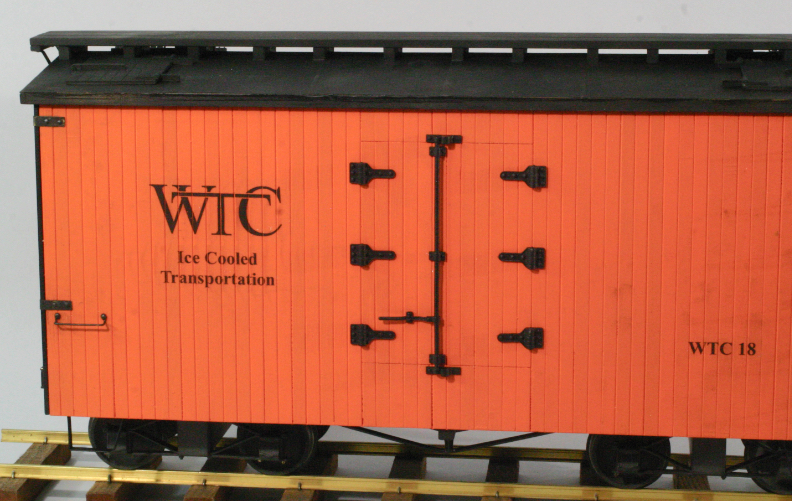
Here is the finished car. The roof has been painted. The door hinges and latching fitting have been 3-D printed and painted. The grab irons are copper wire that has been chemically blackened and nailed to the body with brads. Decals have been applied.
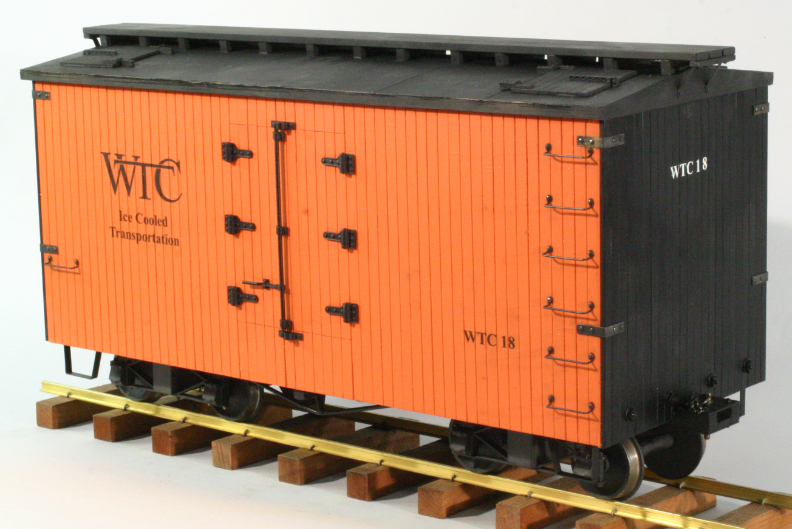
Here is a detail shot of the finished side.
Here is a detail shot of the finished roof.
Here is the car with the lid removed, ready to be loaded with goods.
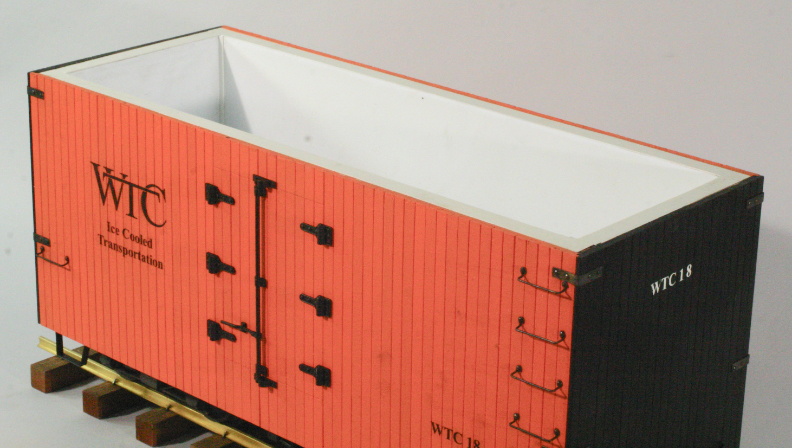
The cars will be cooled with reusable freezer blocks, cooled in the basement freezer, allowing cold drinks to be transported as desired.